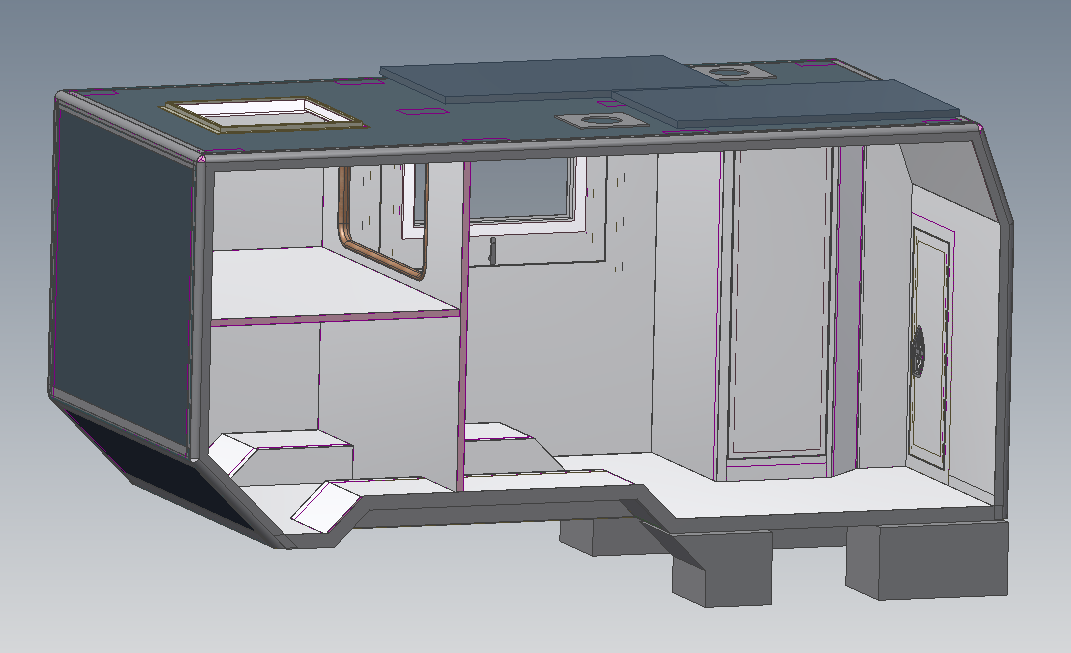
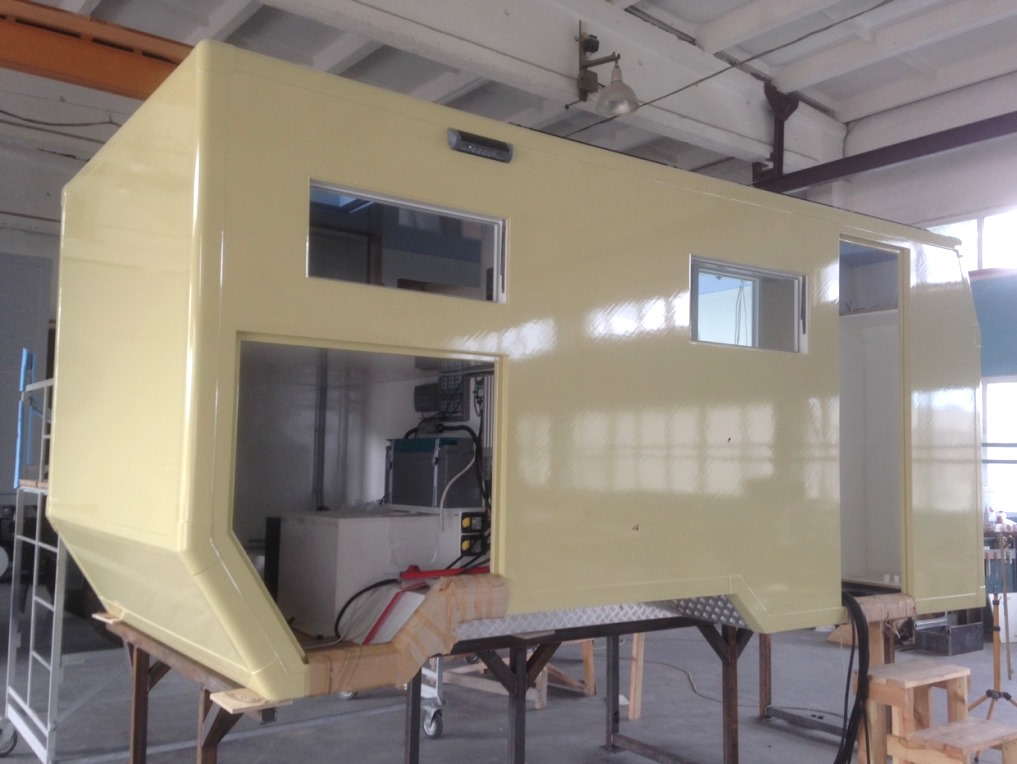
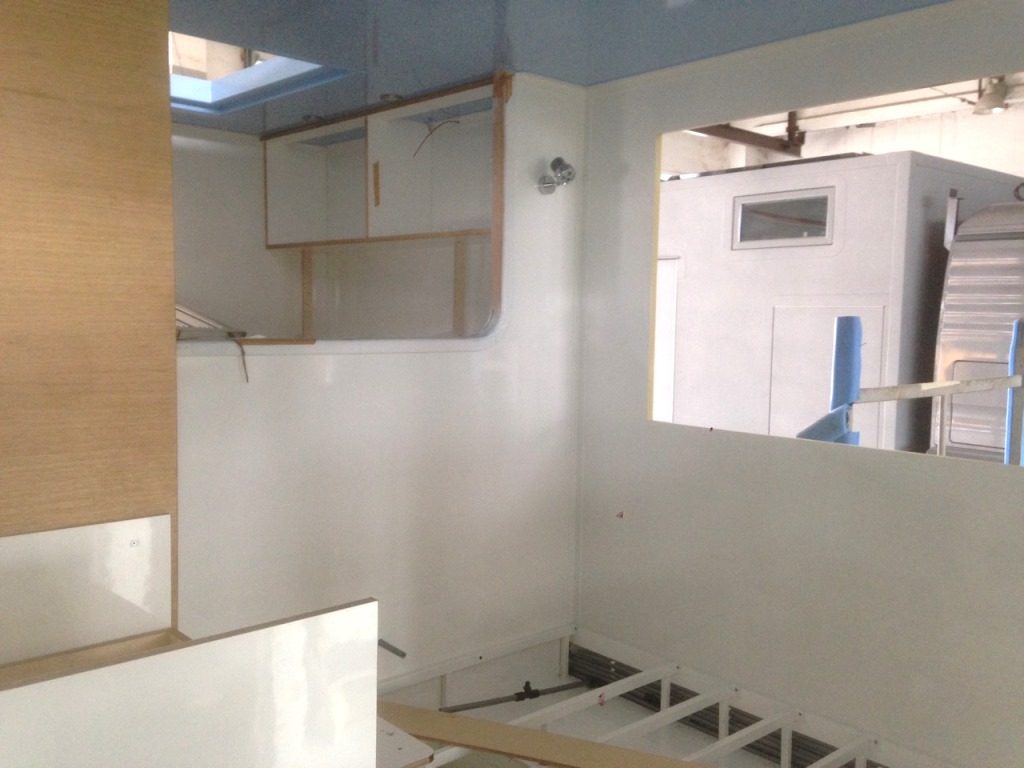
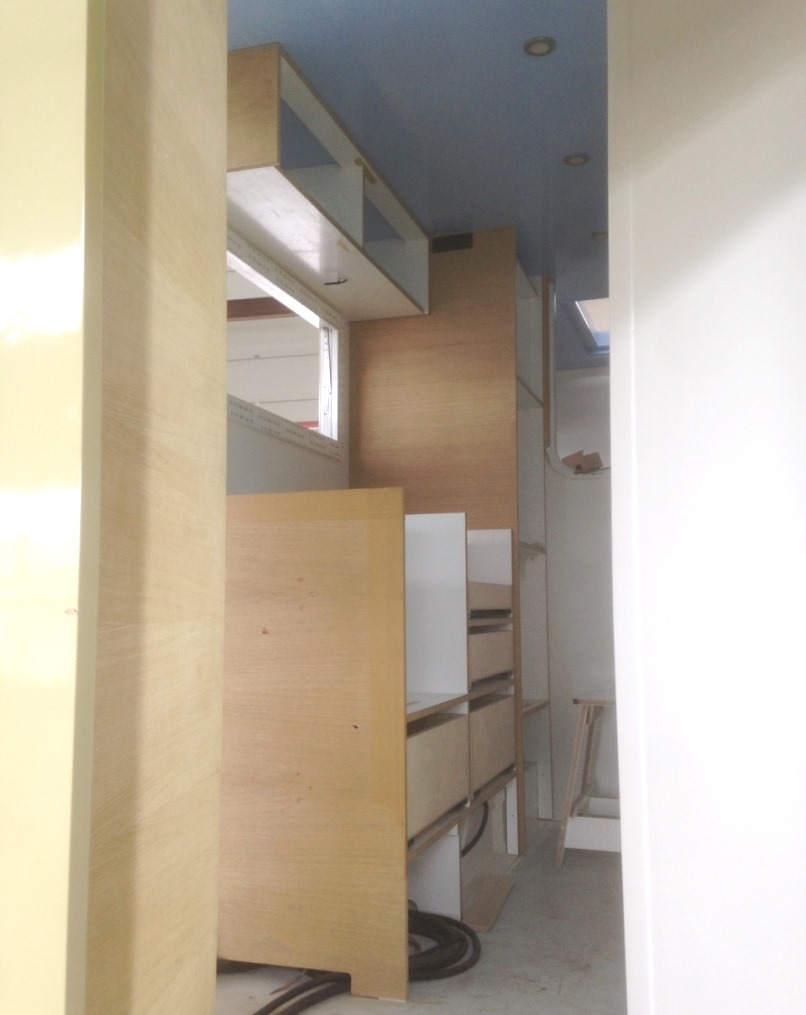
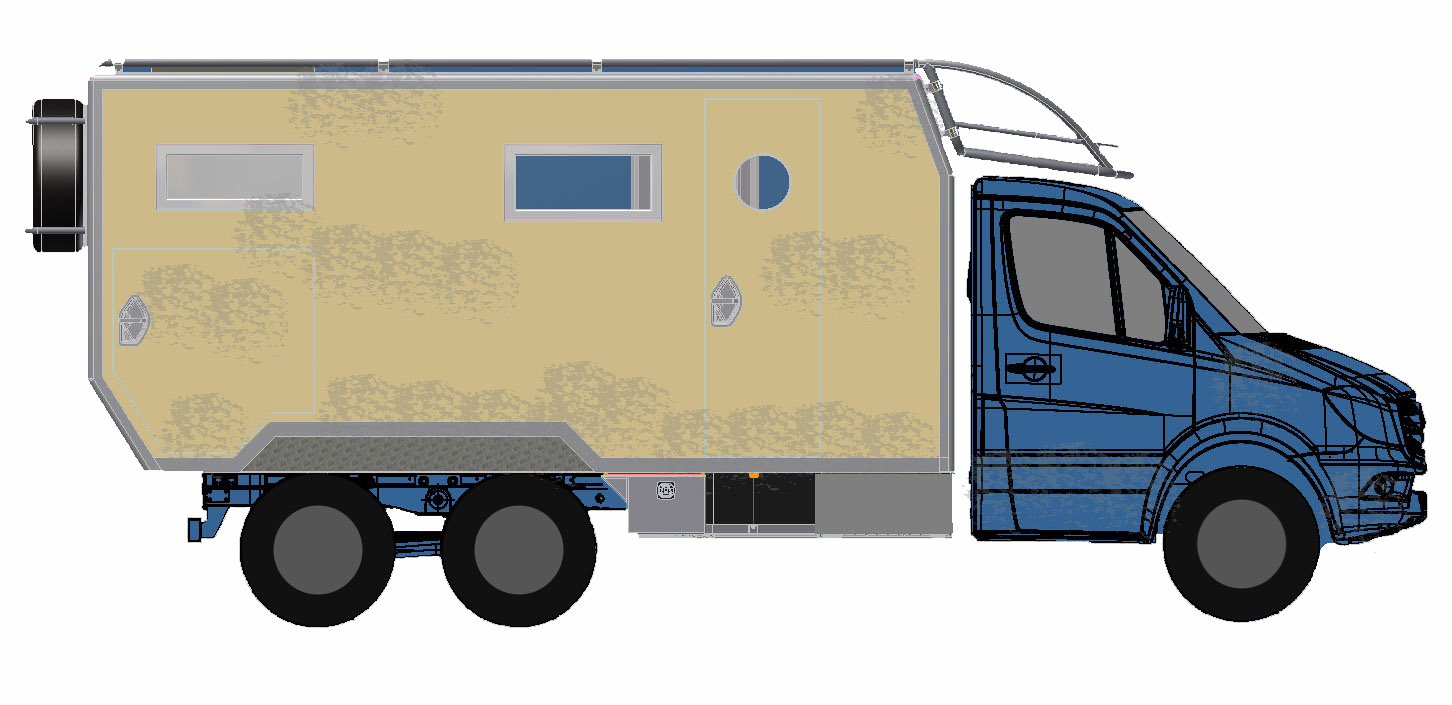
I received some more photos of my cabin build from KrugXP in Ukraine, which show the structure from all sides, and details of the interior. I plan on visiting the factory again on or around September 8th to take a look at the finished cabin, before it’s moved to Germany for fitting to the chassis. While I’m in Ukraine I’m thinking of visiting the site of the 1986 Chernobyl nuclear reactor melt-down. It’s quite possible to take a safe, professionally organised trip around the site these days, and since I work with X Rays in my ‘day job’ I’ve done my research and have no concerns about visiting the area. But I may be pushed for time so am still looking to see if this can be arranged.
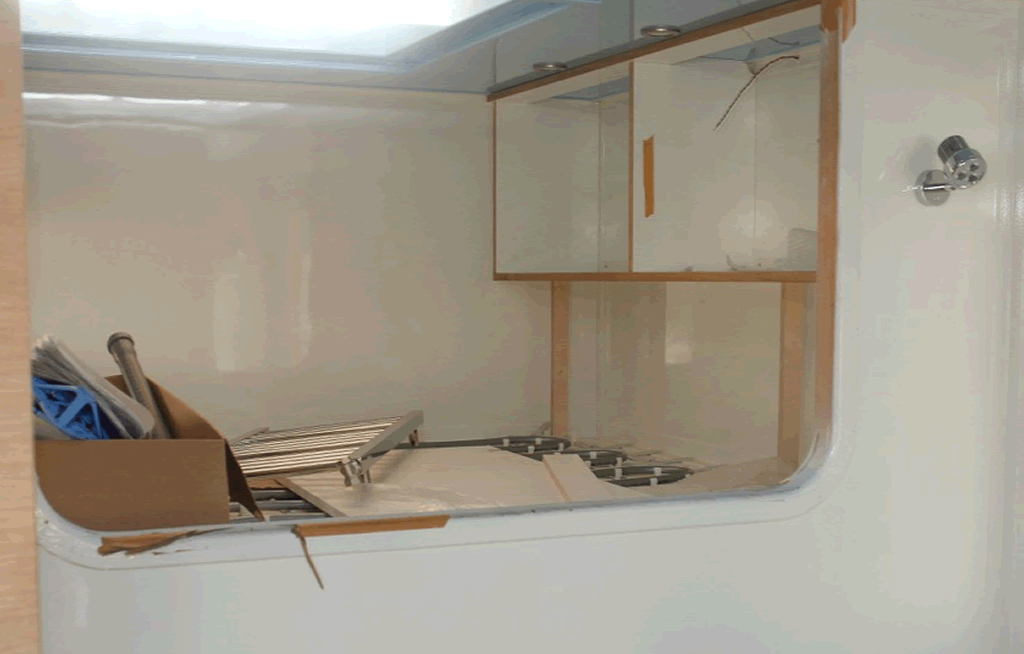
The bedroom has an access panel above which allows me to get onto the roof from within the cabin. It is hinged at the front, which means it’s impossible for it to open accidentally, even if I foolishly leave it unlatched, when driving. It also provides access the spare tyres which will be mounted at the top of the rear of the cabin (out the way of light fingered passers-by). Its other purpose is to allow me unhindered panoramic photography from the rear of the truck.
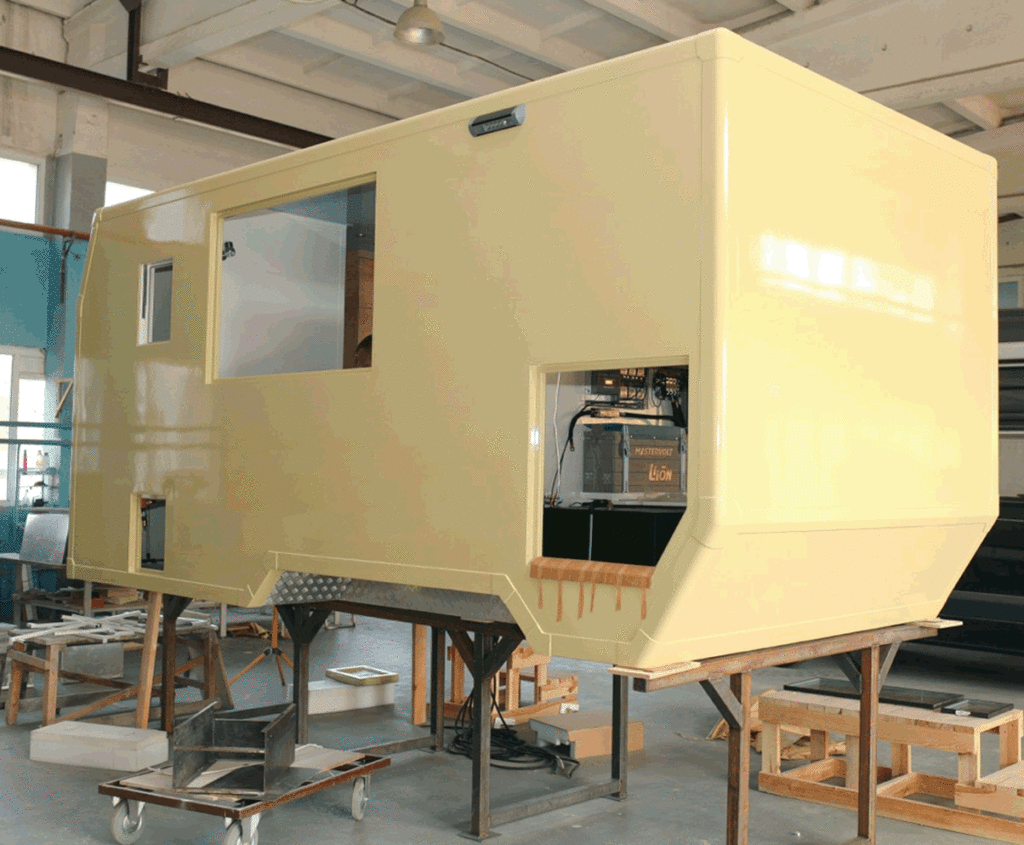
Likewise the large panel which opens next to the seating is designed to give me excellent visibility for photography. It’s also just nice to be able to sit down for a meal and have the hatch wide open, to take in the view. Within the panel there will also be a window. The cut out to the left is for the bathroom window and below it, the access panel for the cassette toilet. Bottom right you can see that access to the lower rear store is from both sides. Also note the exterior lighting near the roof line. This can be strobed to make it difficult for anyone trying to break into the cabin at night, to see clearly, and equally, to draw attention to the incident.
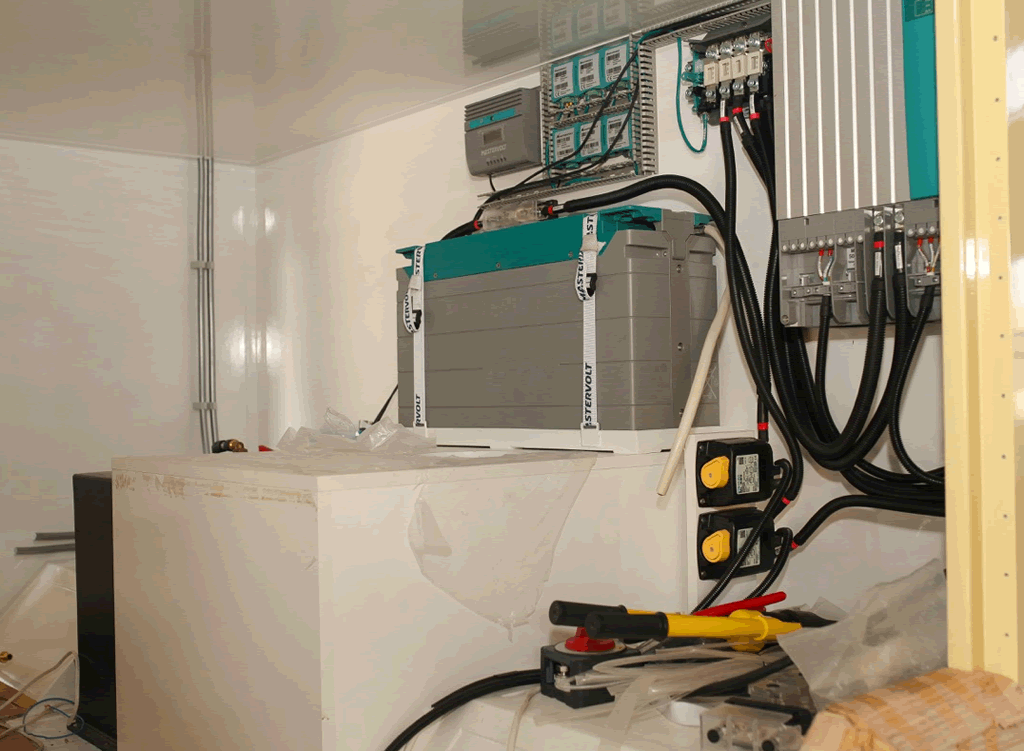
Inside the store is the water tank (the large white box) with the Li-Ion battery above. These are twice the price of similar capacity AGM cells but can be discharged to around 30 to 40% of their capacity each time, whilst AGMs can only be discharged to around 70%. So in theory I’ve twice the useful capacity for the same nominal capacity. Time will tell how rugged and durable this battery is. If it’s not, I’ve made an expensive error of judgement! To the right are the solar power controller, inverter, and various other elements of electronic wizadry. Don’t ask me to explain – I need the manual…. Planning this cabin build has taken me many years and KrugXP several more weeks in order to pack everything safely into these confined spaces, yet maintain service access where necessary. Don’t let anyone ever tell you it’s easy!
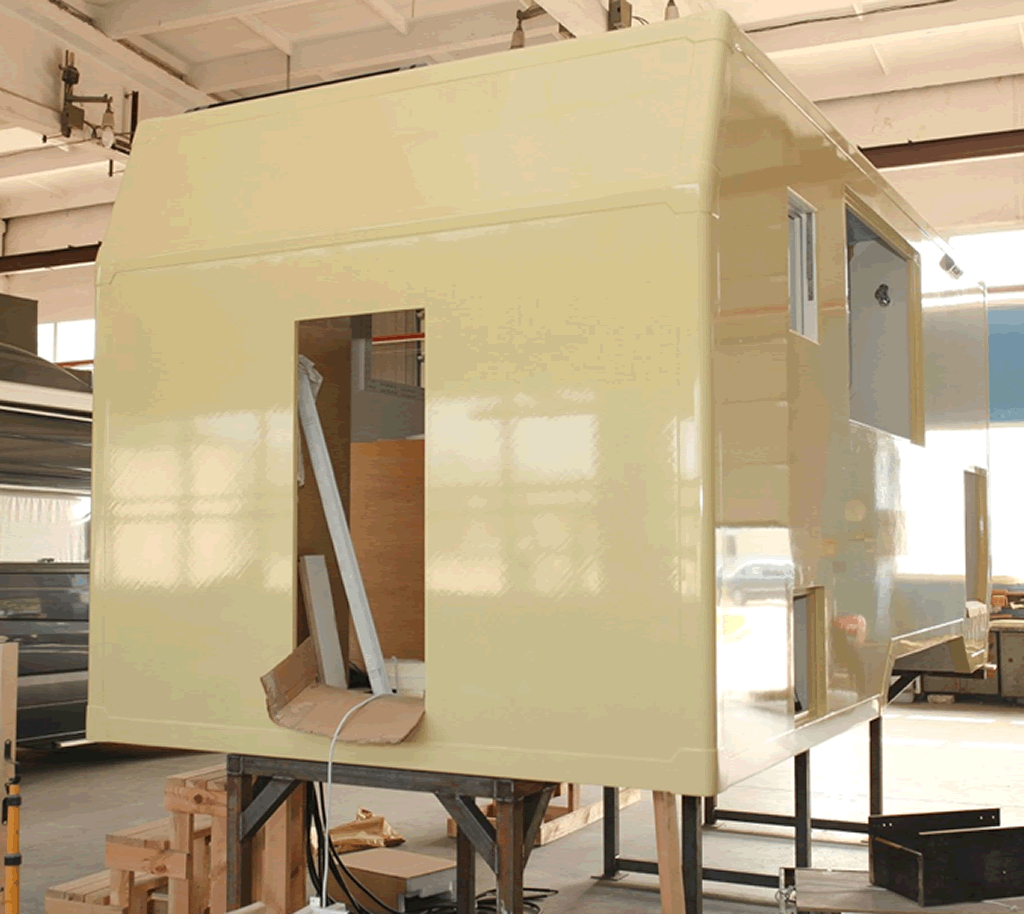
This is the front of the cabin – there will be a door which can be accessed from the cabin, to get into the cab, and vice versa. This allows me to drive off in an emergency (and in the pouring rain 🙂 ) without leaving the safety of the (dry) cabin. Above the door, the area where you see the sloping roof line will have a rack fitted which will hold the spare wheel and perhaps an additional secured steel storage cabinet, if I find I need one later. An access ladder will be bolted to the front left hand side of the cabin (the right hand side of this picture). This neatly folds and locks up out of the way, so no-one can climb it and gain access to the spare wheel, or the solar panels on the roof.
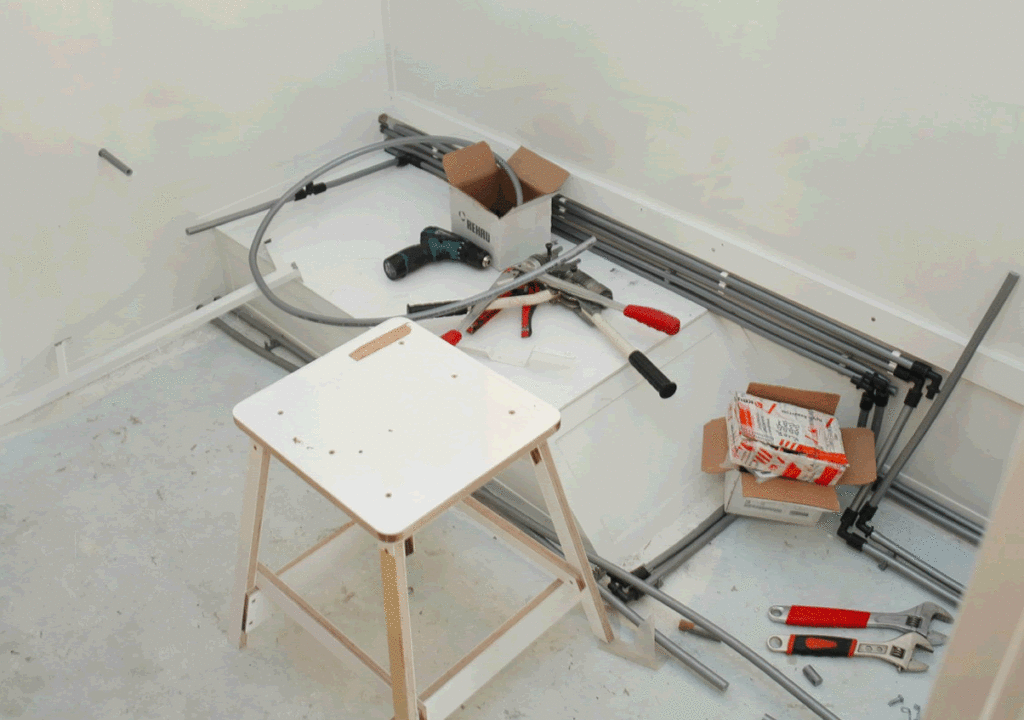
The plumbing is going from the tank in the rear (on the left) to the bathroom (to the right) via the calorifier or “water heater” to you and me! The seats will be installed above this area. No, that white stool is not one of them…. The tools and cardboard box are seen here on top of the rear wheel arch.
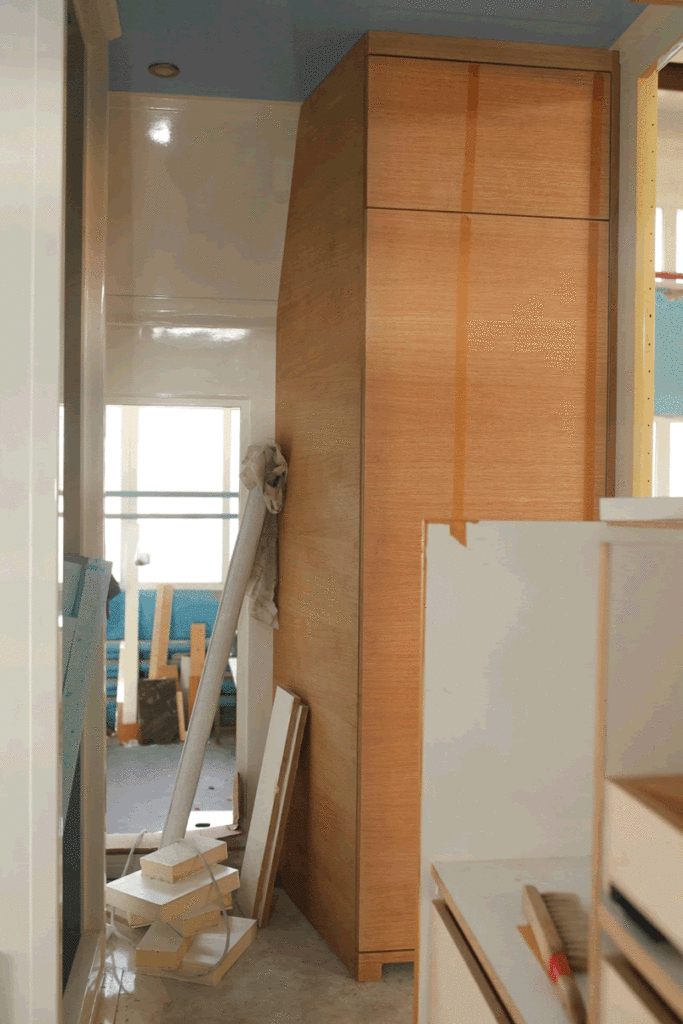
Not much room for hanging clothes as you can see, but I suspect I will be living in shorts, jeans and T shirts or wrinkle free specialist travel shirts (no need to iron anything!) most of the time. However I will try to squeeze one decent pair of Chinos and a sports jacket in there. You know, just in case I’m invited to dine at the occasional British Embassy, or lecture at a University from time to time. Ha!
